FlatCAM Install On OS X Mojave with Vagrant and VirtualBox
I've seen a number of tutorials on how easy it was to create milled PCBs using FlatCAM to create the gcode from gerber files. Well, what wasn't easy was getting FlatCAM installed on my macOS Mojave machine. I never got it running... so, let's try Vagrant and VirtualBox to see if we can have a more standardized base to install it into...
NOTE: These are just the things that I found to work, there's likely better ways to get this running and it's very likely these things may not work as expected on your machine.... That said, I'll post them here so that someone may benifit and I can remember what I did next year (or next week)...
Install homebrew, virtualbox, vagrant & xquartz
I already had these installed, so I couldn't tell you the specifics on how that went down, but this seems like a good guide by John Foderaro. Stop after Step 3 - we'll do make the Vagrantfile another way...
This covers the first three dependencies, but you'll have to do xquartz on your own:
brew cask install xquartz
You'll probably be asked for your user password - I was... Also, this seems to take a while.
Setup vagrant
You can probably put this just about anywhere, but I went with a folder called vms in my root user folder:
mkdir ~/vms
mkdir ~/vms/flatcam
cd ~/vms/flatcam
vagrant box add ubuntu/bionic64
vagrant init ubuntu/bionic64
That last command will create a very basic Vagrantfile with lots of comments. Replace it's contents with something like this:
# -*- mode: ruby -*-
# vi: set ft=ruby :

Vagrant.configure("2") do |config|
    config.vm.box = "ubuntu/bionic64"
    config.vm.provision "file", source: "~/.ssh/id_rsa.pub", destination: "~/.ssh/authorized_keys"
    config.ssh.private_key_path = ["~/.vagrant.d/insecure_private_key", "~/.ssh/id_rsa"]
    config.ssh.insert_key = false
    config.vm.provision :shell, path: "bootstrap.sh"
    config.ssh.forward_x11 = true
end
Now create that above mentioned bootstrap.sh file in the same folder as the Vagrantfile and make it's contents:
#!/usr/bin/env bash

# prevent `default: dpkg-preconfigure: unable to re-open stdin: No such file or directory` errors
export DEBIAN_FRONTEND=noninteractive

apt-get update -y
apt-get install -y git

apt-get install -y libpng-dev
apt-get install -y libfreetype6
apt-get install -y libfreetype6-dev
apt-get install -y python3-dev
apt-get install -y python3-simplejson
apt-get install -y python3-pyqt4
apt-get install -y python3-numpy
apt-get install -y python3-scipy
apt-get install -y python3-matplotlib
apt-get install -y libgeos-dev
apt-get install -y python-shapely
apt-get install -y python-pip
apt-get install -y libspatialindex-dev
apt-get install -y python3-tk
apt-get install -y python3-shapely
apt-get install -y python3-rtree
apt-get install -y python3-svg.path

cat /vagrant/id_rsa.pub >> /home/vagrant/.ssh/authorized_keys
git clone https://bitbucket.org/jpcgt/flatcam.git /vagrant/flatcam
These are the commands that will setup (provision) the virtual machine.
Now, comes a big one - start the vagrant vm and set it up (provision):
vagrant up --provision
Start XQuartz and FlatCAM
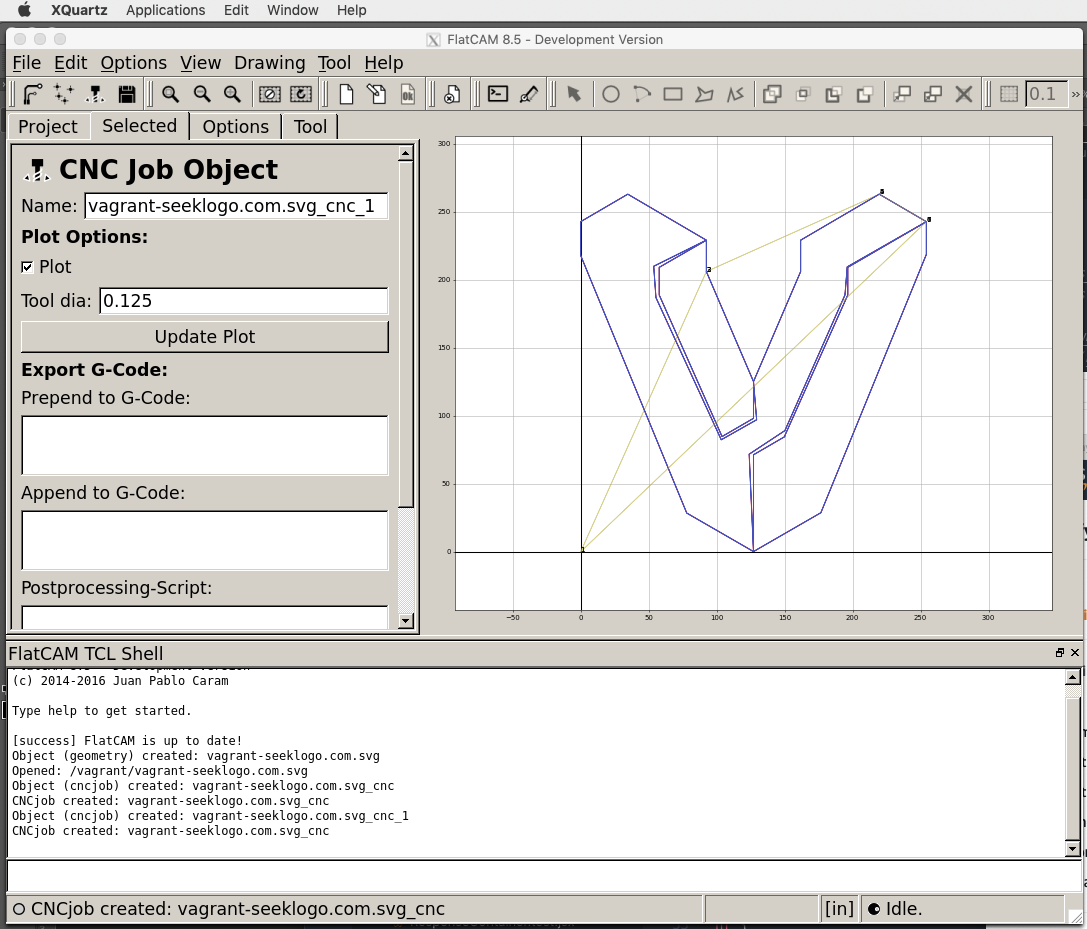
In order to start FlatCAM, you'll need to run it from the X Window System XQuartz. This should have been installed in the above brew command. In my case, it was installed in /Applications/Utilities/. Once it starts, you will have an Applications menu. Under that select Terminal and run the following command:
ssh -X -p 2222 vagrant@localhost /vagrant/flatcam/flatcam
This will require you to add the new fingerprint to the ~/.ssh/known_hosts file. Type yes and if all goes well, FlatCAM should start. If it doesn't, I probably can't help you just because I don't know enough about this stuff...
The next time you run this command, you won't have to acknowledge (type yes) which means you can add a custom command under the Applications menu item in XQuartz using the same command as above.
NOTE: if you re-provision, you will need to remove the prior RSA key in the
~/.ssh/known_hostsfile
Voila!

Things to know...
Vagrant will setup a shared and synced folder at /vagrant on the virtual machine. This will be the same folder as where your Vagrantfile is located. This is the place that you can access your gcode and gerber files from both the host and the virtual systems.